Drag and Drop Tutorial
The Drag and drop content type allows learners to drag a piece of text or an image and drop it on one or more corresponding dropzones.
In this tutorial you will learn:
- When to use Drag and drop
- How to create a Drag and drop
Click the "Get started" button to explore all of the possible ways to use H5P!
Video tutorial
The below video summarizes what you may do with Drag and Drop and how:
Textual Tutorial - Example
Here's the Drag and drop we'll create in this tutorial:
When to use Drag and drop
Drag and drop enables the learner to associate two or more elements and to make logical connections in a visual way. Here are some examples:
- Group elements that belong together or have something in common
- Match an object with another object
- Put elements in the correct order
- Place elements at a correct position
Drag and drop can be used to test the learner's knowledge on a given topic as a variation to Multichoice questions. Drag and drop can be used stand-alone or they can be included in Question sets, Interactive Videos or Presentations. Either way, they are created in the same way.
Step 1: Topic
Let's say you have a text about Strawberries that you want to create a Drag and drop question about. The example text below is pasted from Wiktionary:
Strawberry
The juicy, usually red, edible fruit of certain plants of the genus Fragaria.
Step 2: Create Drag and drop question
Select the New content option and choose Drag and Drop from the list of Content types:
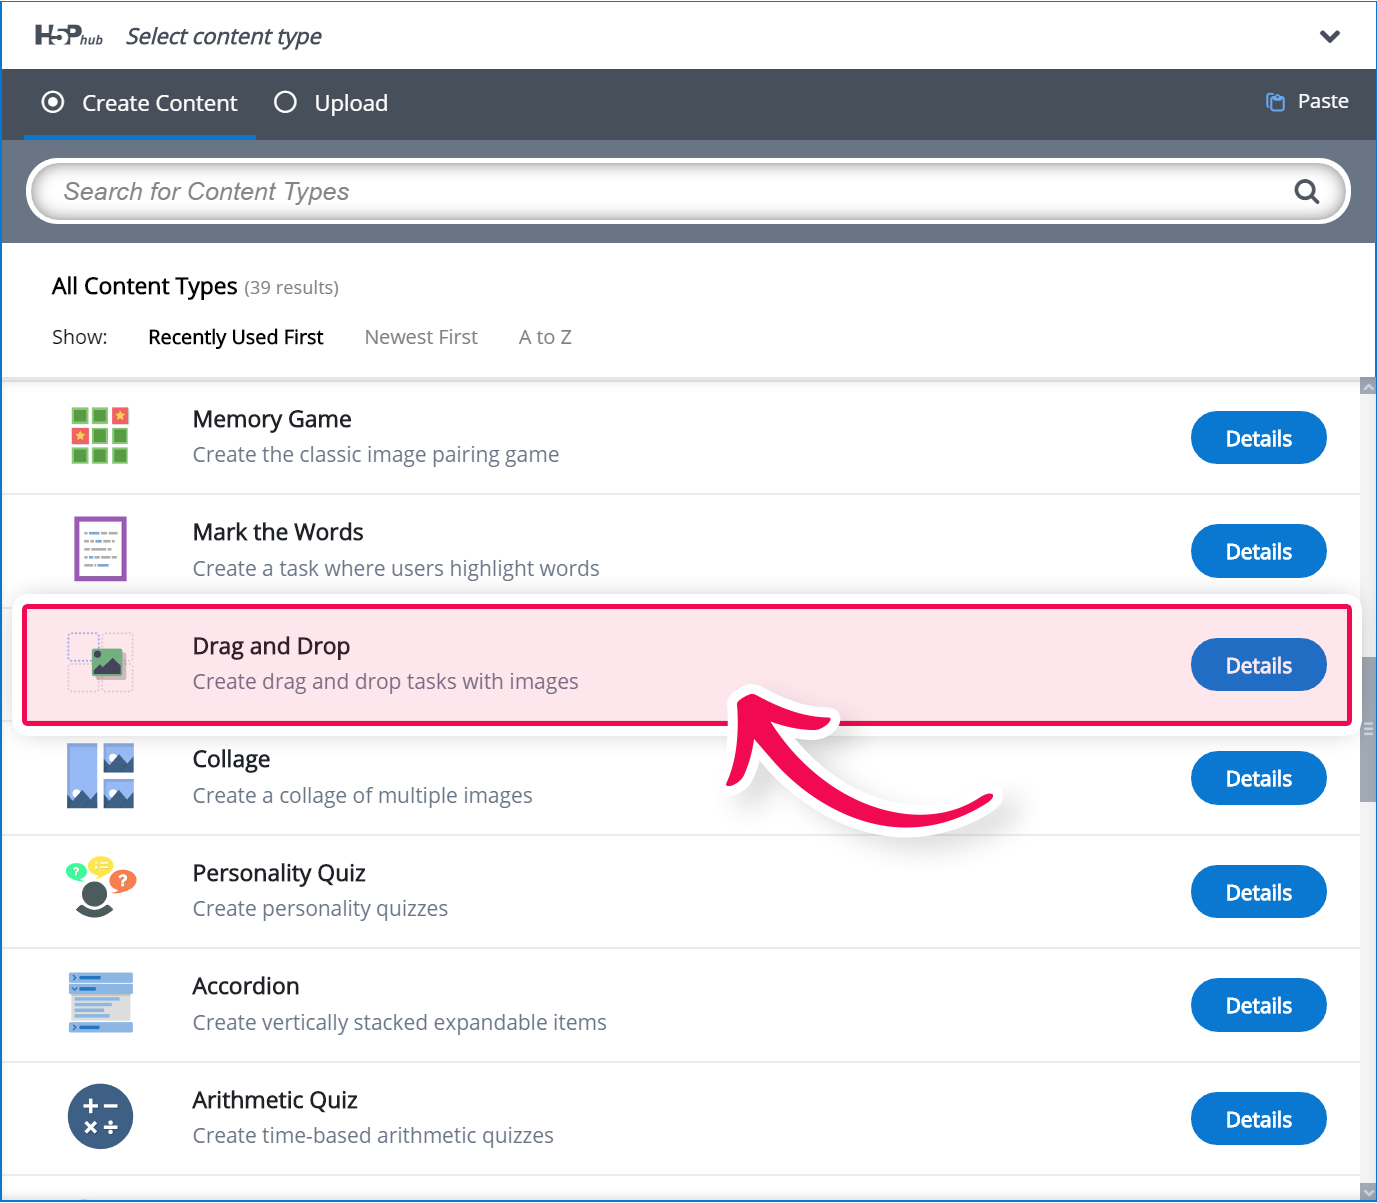
Step 3: Drag and drop question editor
The Drag and drop question editor should now appear. The top part of the editor looks like this:
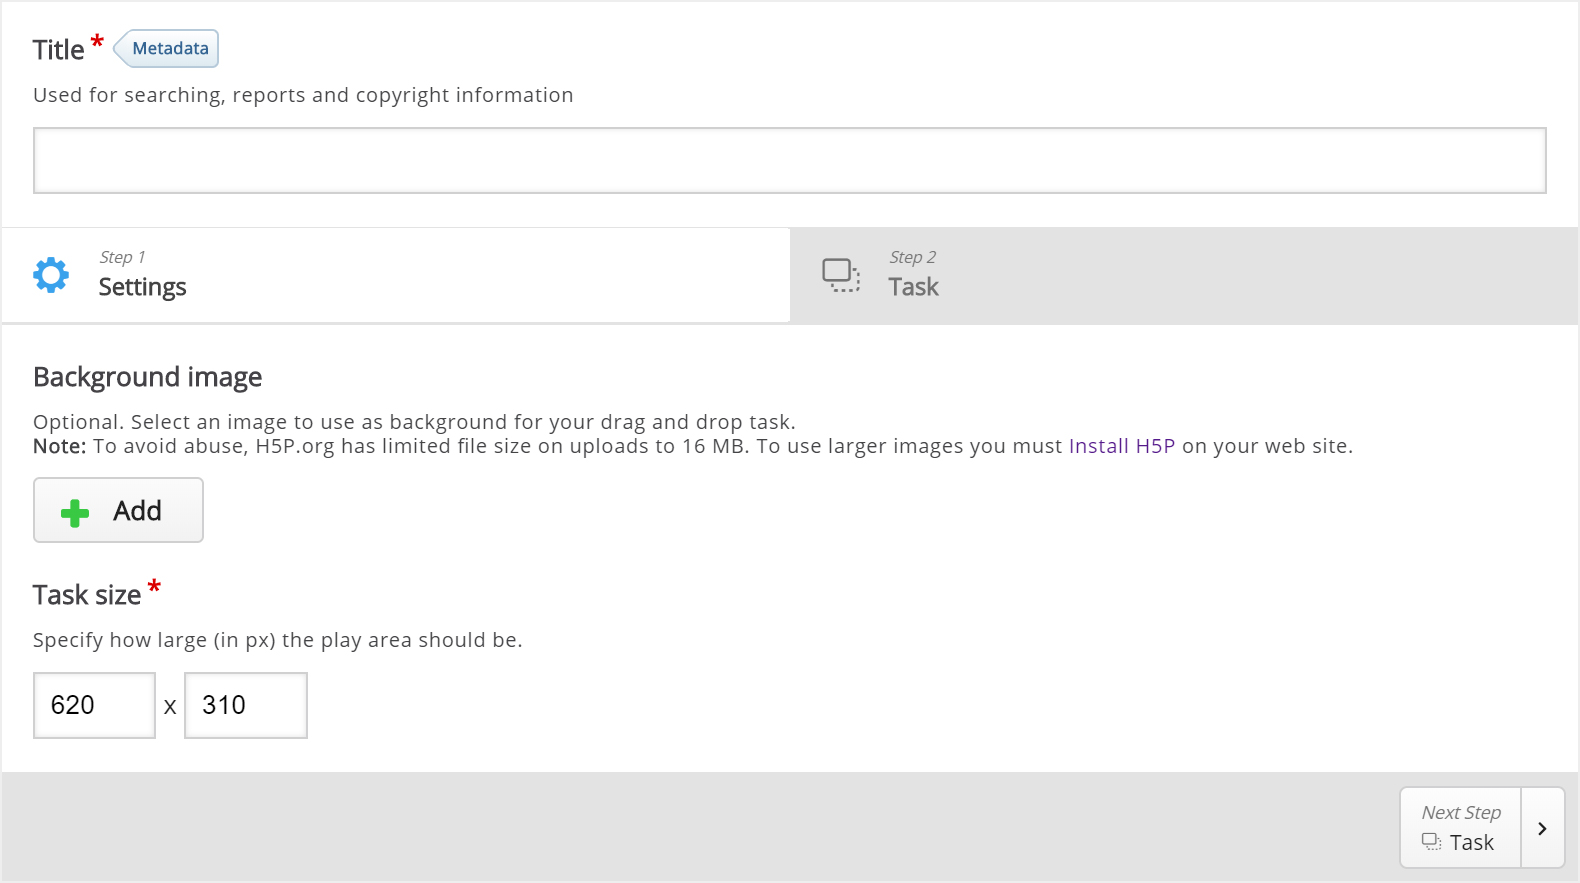
We'll focus on creating the Drag and drop question content in this tutorial. The content creation happens in the top part of the editor, so we'll focus on this part here.
There are two steps in creating a Drag and drop question: Settings and Task. You can press the Settings and Task tabs at the top of the editor at any time to navigate between the views.
Step 4: Settings
Settings deals with general settings such as background image and size.
We'll add this background image:
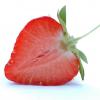
The picture was downloaded from Wikimedia and is licensed with Creative Commons Attribution Share Alike.
Press the ![]() button to add a background image. Browse to where you downloaded the strawberry image above and select it.
button to add a background image. Browse to where you downloaded the strawberry image above and select it.
H5P 1.1 only: You can add license information for the background image by pressing the Edit copyright button:
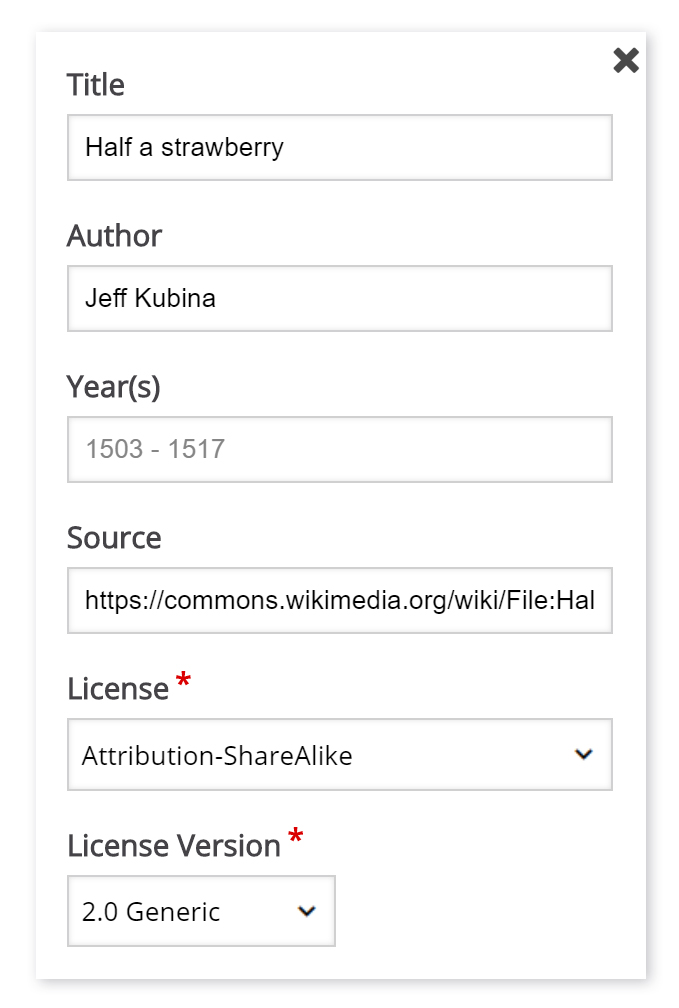
The Year(s) field is not relevant in this context so we'll leave this blank.
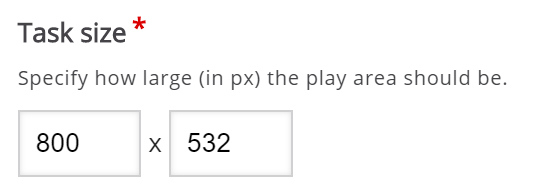
Now that we've added a background image, I can define the size of the Drag and drop question. Since the image has a width of 800 px and a height of 532 px, I'll use this size for the task.
The Drag and drop question will be scaled to the maximum width of the page where it is placed, after saving. The Size defines the width and height of the editor as well as the aspect ratio of the Drag and drop question, rather than the actual size in pixels when it is viewed.
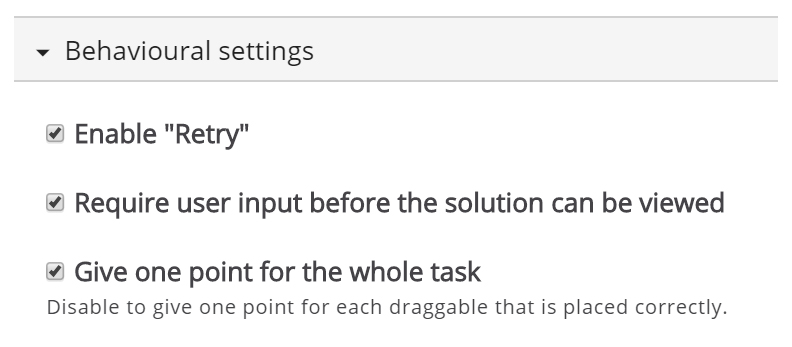
Since we want learners to be able to try to solve the Drag and drop question multiple times, as opposed to only have one go, we'll check the Enable "Retry" option.
The Give one point for the whole task option is more relevant when we add Drag and drop question to Question sets, Interactive Videos or Presentations. This option controls the score the learner gets for solving the Drag and Drop question when it is placed in a sequence of multiple tasks. Since we are creating a stand-alone Drag and drop question, it doesn't matter whether we'll leave this option checked or not.
Step 5: Task
Press the Task tab in the top right half of the editor to start creating the task itself.
You'll see that the background image is displayed with the size defined in the Settings tab.
We'll create a Drag and drop question where the user tries to associate the strawberry with its corresponding genus name. According to Wikipedia, a genus is a taxonomic rank used in the biological classification of living and fossil organisms.
From the example text above, we know that the strawberry belongs to the Fragaria genus. Other examples of berry genuses are Rubus (e.g. Raspberries) and Vaccinnium (e.g. Blueberries). We'll use these last two examples as false alternatives.
You will see a toolbar above the background image.

The toolbar allows you to insert:
 | Dropzones |
 | Texts |
 | and Images |
Dropzones are areas on which Text and Image draggable elements can be dropped.
Step 6: Dropzone
We start off by adding a Dropzone over the strawberry shown in the background image. Press the Dropzone button in the toolbar, drag it onto the background image and drop it somewhere above the strawberry.
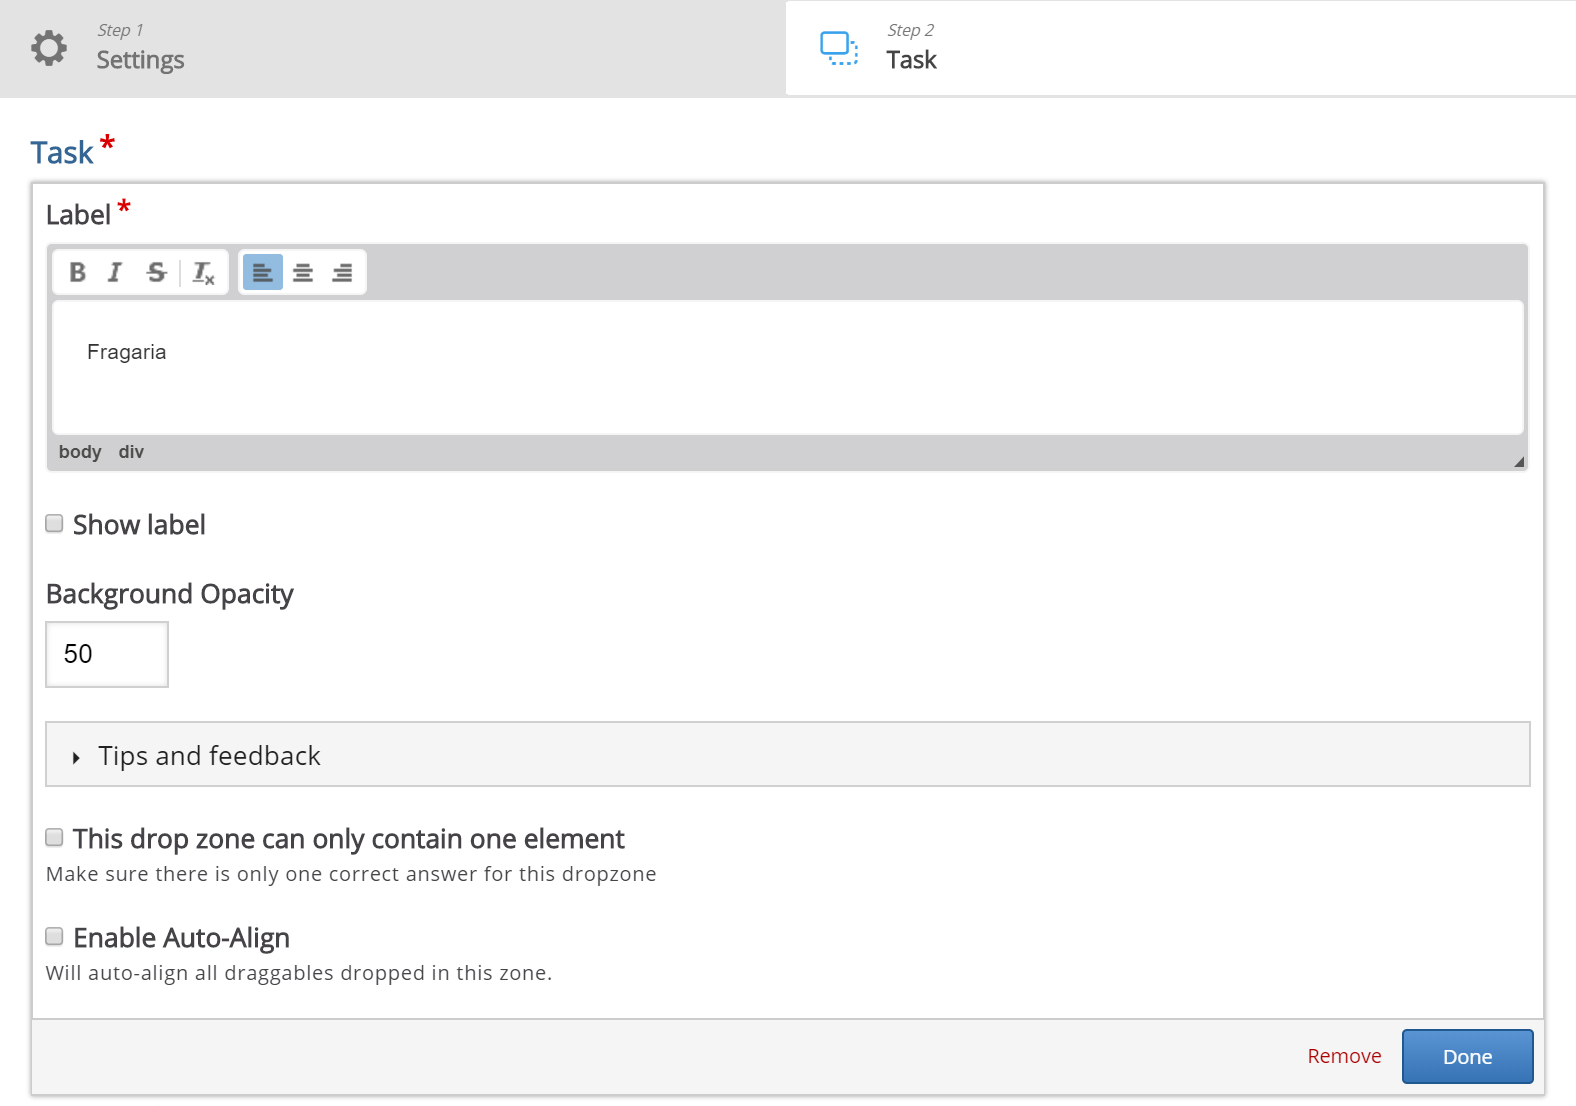
Dropzone options appear when you drop it. We add the Label Fragaria, which is the name of the genus the Strawberry belongs to. Set the opacity to 50 to make it semi-transparent.
You will have something like this:
Press Done.
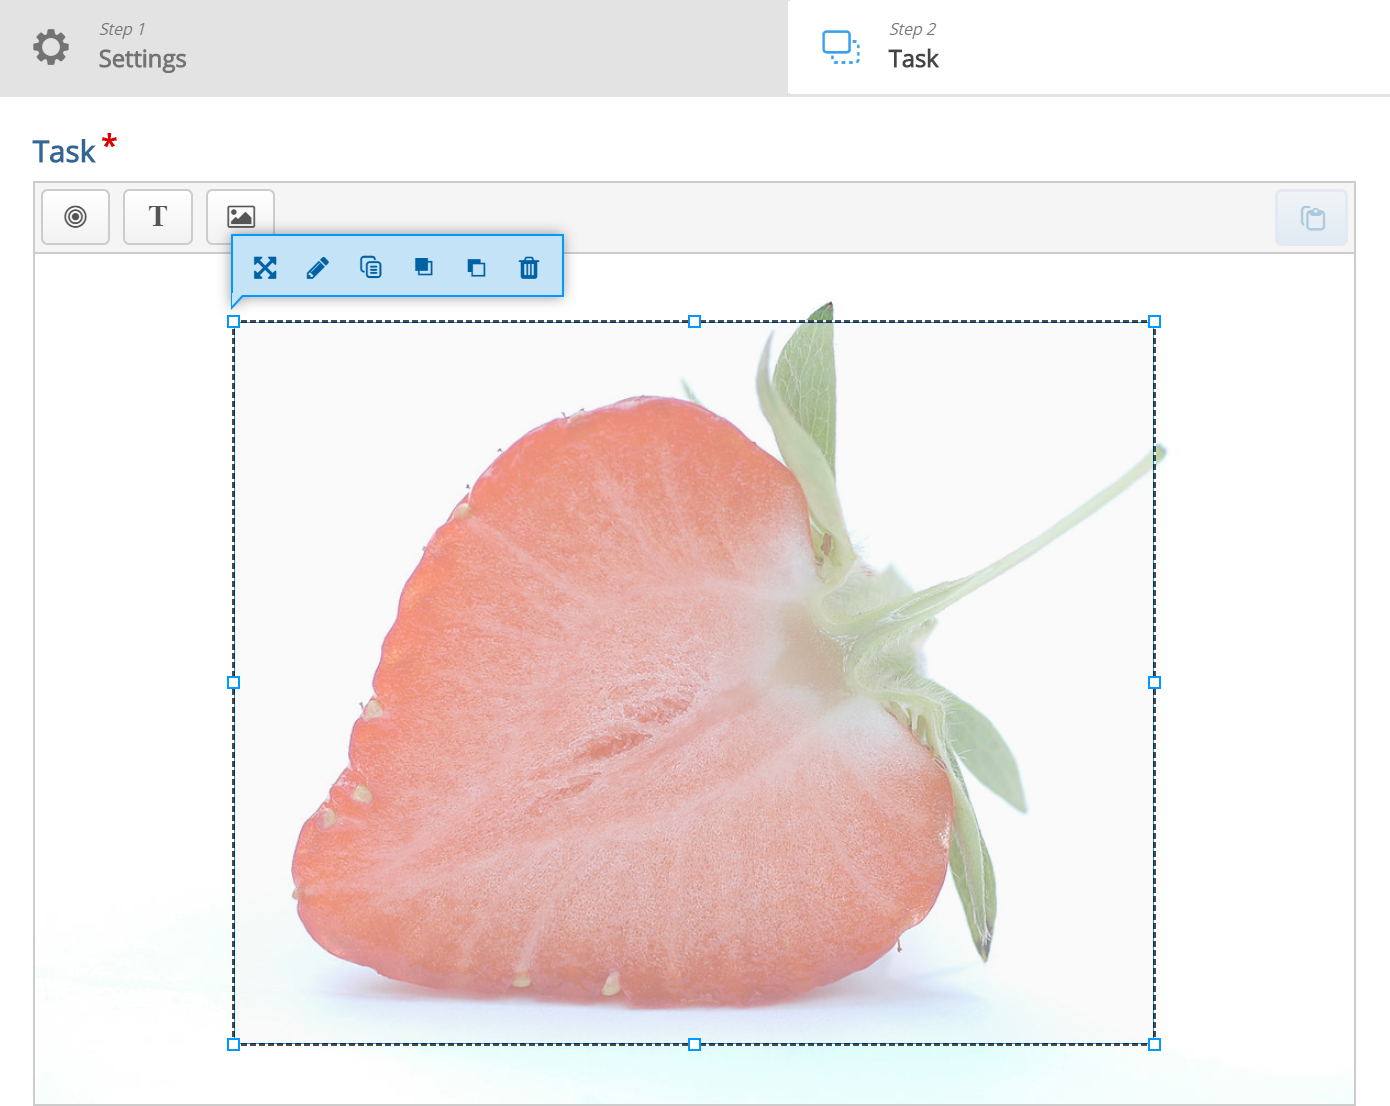
You will now see a white dropzone placed over the background image. Move and resize the dropzone so that it is placed roughly over the Strawberry in the background image. You move the dropzone by pressing and dragging it to where you want it placed. You resize the dropzone by pressing the lower right corner of the dropzone and dragging up/down or left/right to scale the dropzone to the right proportions.
Double-press the dropzone to edit it at any time.
You should now have something like this:
Step 7: Add text
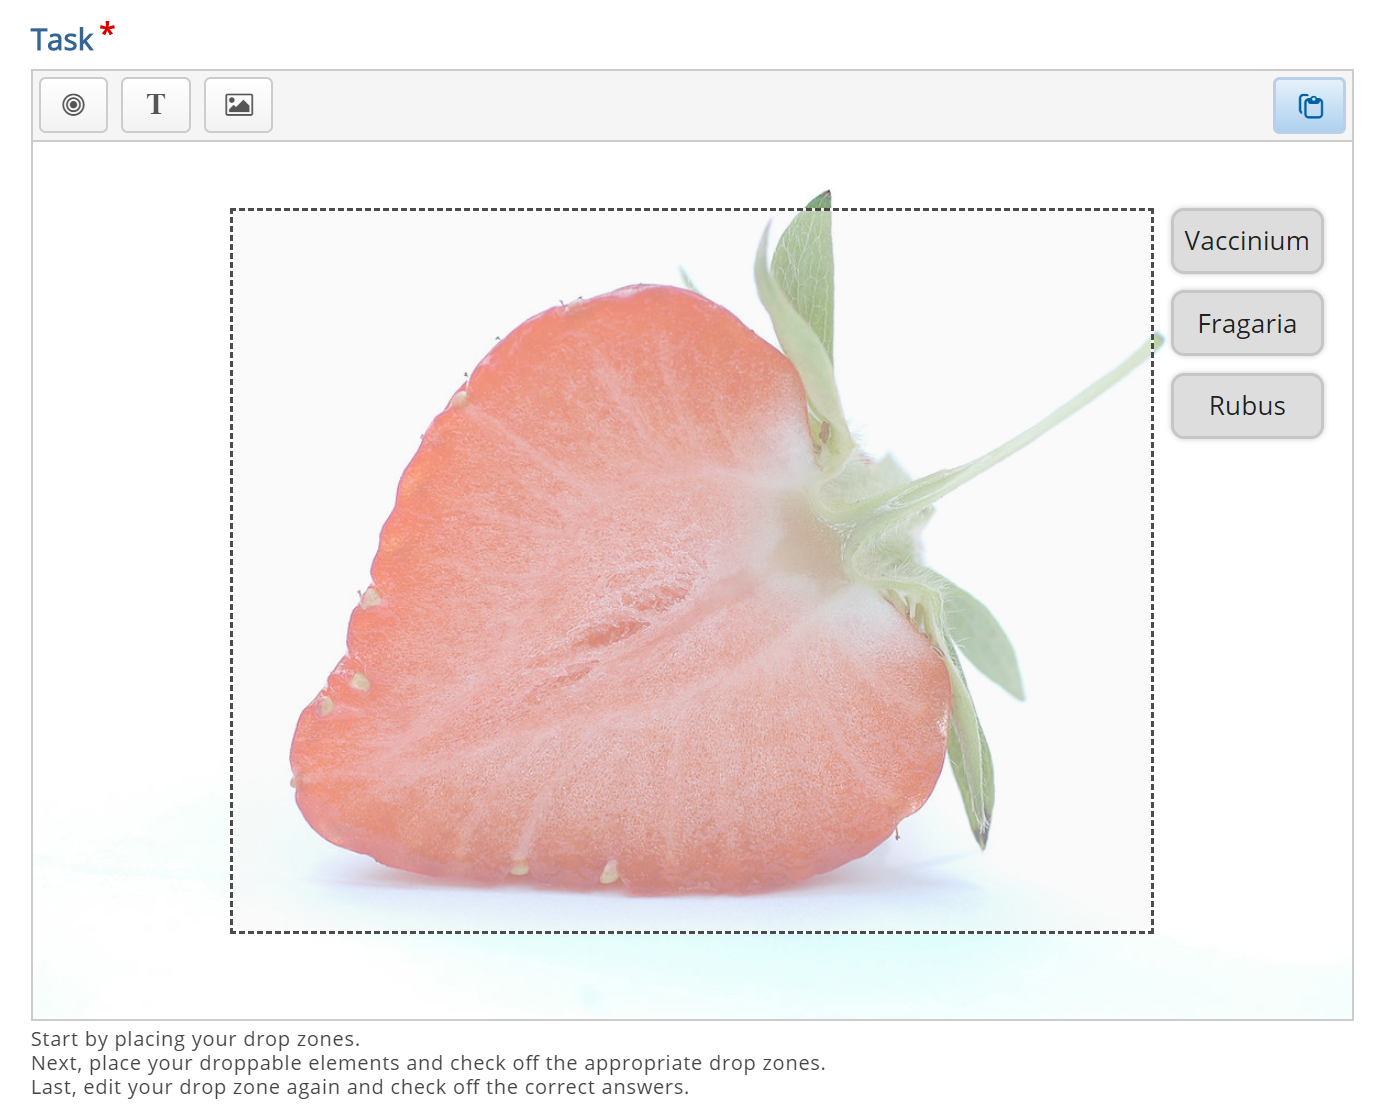
In this tutorial we'll add three Text draggable elements; one correct and two incorrect. Images can be used as draggable elements in the same way as Text.
Press the Text button in the toolbar and drag it onto the background image. You can place it to the right of the strawberry. Text options appear when you drop it.
In the Label field, type in Vaccinium. Under Select drop zones, check the Fragaria checkbox. We know this is an incorrect match, however, we want the learner to be able to drop the Vaccinium object on the Fragaria dropzone. If this option was unchecked, the learner would not have been allowed to drop the object on the dropzone. This is more relevant in cases where you have more than one dropzone.
Leave the opacity to 100 and press Done. You will now see the Vaccinium draggable object where you placed it.
Move and resize the draggable object as you please. You move it around by pressing on it and then drag it to where you want it. You resize by pressing in the lower right corner of the object and then pull in any direction to scale.
Add two more Text draggable elements by following the exact same procedure as above. However, label these elements Fragaria and Rubus respectively. Place them in a neat alignment to the right of the Strawberry.
Double-press the draggable object to edit it at any time.
Hopefully, you will now have something like this:
Step 8: Define the correct match
In order to define which match between dropzone and draggable elements is correct, you double-press on the dropzone. This will bring up the same dropzone options as in Step 5.
Since you have defined an association between the three draggable elements and the Fragaria dropzone in the previous step, you will now see a Select correct elements option. Check the Text: Fragaria checkbox to define this draggable object as the correct match.
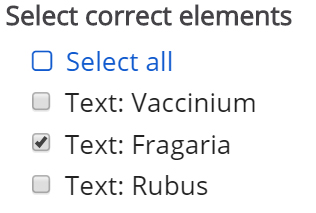
Now, set the opacity to 0 (zero) and press Done.
Multiple correct elements can be placed on a dropzone.
Step 9: Finishing up
We are now more or less finished. We might want to add an instructional text such as: Which genus does the Strawberry belong to? Drop the correct genus name on the Strawberry.
This is done by adding a Text element and type in our instructions in the Label field.
As instructional text should not be a draggable element, we do not select a corresponding dropzone.
Place the instructional text in the top right corner and resize it as you please.
You should now have something like this:
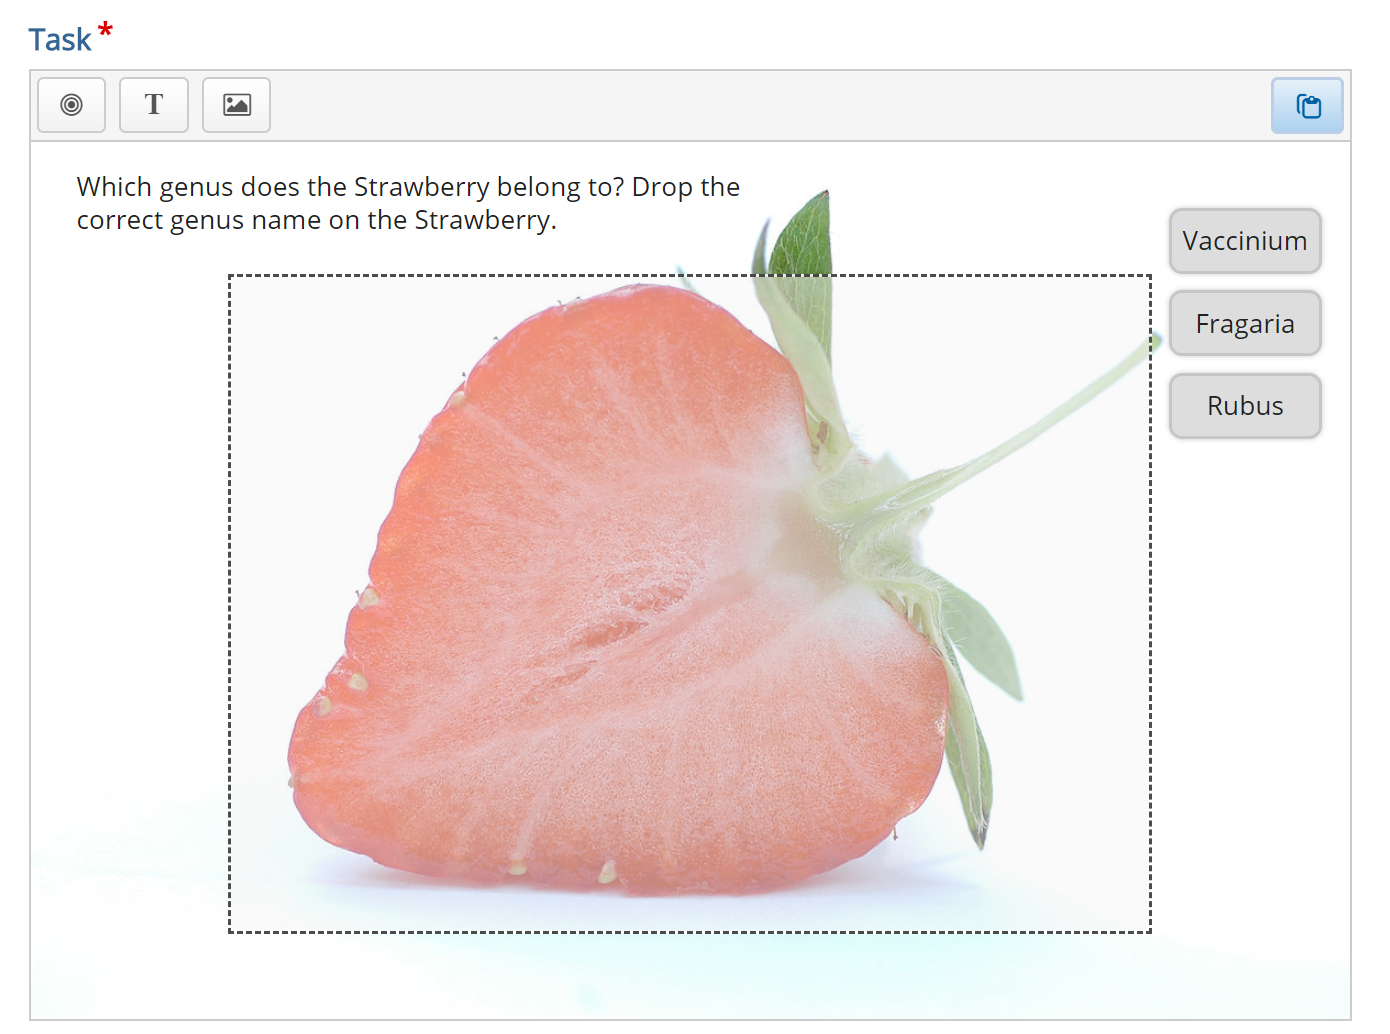
Save the node/article to view your finished Drag and drop question.
You should now have the same result as the example.
Feel free to leave any comments or suggestions on how to improve this tutorial.
Comments
HGoedl
Tue, 12/20/2022 - 09:52
Permalink
Remove Scoring and Little Grey Ticks
Hi there,
I'm using the drag&drop activity for a creative application where there isn't really a right or wrong option for placing the elements. Is it possible to remove the score display? also, after completing the task, there are these little grey ticks placed next to every element that was dragged and dropped in the correct position. Can these be removed?
I'm using the wordpress plugin.
thanks for your help!
BV52
Tue, 12/20/2022 - 17:27
Permalink
Hi HGoedl,I don't think this
Hi HGoedl,
I don't think this is possible but feel free to post a feature request.
-BV
HGoedl
Wed, 12/21/2022 - 13:55
Permalink
Remove Scoring and Little Grey Ticks - Provisional Solution
Hi BV, thanks for your reply, I found a provisional solution to hide the elements using the H5P Mods plugin and CSS styling. It works just fine for now
Roy van de Graaf
Thu, 03/02/2023 - 21:31
Permalink
2nd attempt without having to start all over?
Hi all,
Does anybody know of a way to give users a second try on a Drag & drop exercise, without having to start all over?
I have exercises with around 15 draggables, and many people don't get them all right the 1st time. Upon clicking Retry they see everything moving back to the original location, which is very frustrating because then they have to also replace the ones that already were correct.
Can the correct ones not stay at their position?
Thanks for any help!!
Roy
BV52
Fri, 03/03/2023 - 17:26
Permalink
Hi Roy,Currently this feature
Hi Roy,
Currently this feature is not available. There is however a PR created by Papi Jo among several other new features and improvements for Drag and Drop. You can read more about this here: https://www.rezeau.org/drupal/node/32.
-BV
Roy van de Graaf
Mon, 03/06/2023 - 15:02
Permalink
Hi BV,That sounds very
Hi BV,
That sounds very interesting, thanks.
I have no clue what 'PR' stands for, but what I understand is that papi Jo has further developed the Drag & drop functionality, including also the option (his 3.5) to keep correct answers. Exactly what I am looking for!
If I were to use his template...
thanks,
Roy
BV52
Mon, 03/06/2023 - 19:00
Permalink
Hi Roy,Is there any risks it
Hi Roy,
PS. PR stands for Pull Request, it is way of requesting for a change that was made from someone in the community to be merged into the official content. A PR is reviewed and tested before it can be merged into the official version.
-BV
Roy van de Graaf
Tue, 03/07/2023 - 13:28
Permalink
Is testing the issue?
Hi BV,
The first is not a big issue, just a matter of making a back-up offline. But the second feels like a showstopper: papi Jo's template can then easily turn out to be nothing more than a temporary solution.
It's a bit of a weird situation, isn't it? Somebody created a wonderful improvement and now we are waiting for it to be tested. If it really is from April 2021 (what I see on his website), then waiting time is almost 2 years now...
Would it help if I tested it? I am not much of a developer, but I am good at testing.
Would that speed things up?
Cheers,
Roy
BV52
Tue, 03/07/2023 - 17:26
Permalink
Hi Roy,I think the second can
Hi Roy,
I think the second can be prevented by not updating Drag and Drop and any content type that includes it e.g. Course Presentation, Column etc. Admittedly we have been behind in going through the PRs. Thank you for offering assistance but testing goes through different phases. Testing if it works is the easy part what takes time is testing if it breaks something else, testing if it will not cause issues for content types that includes DnD, there is also accesibilty and more. What I can do is follow up with the product team and maybe schedule the review and test if they haven't yet.
-BV
Roy van de Graaf
Wed, 03/08/2023 - 10:55
Permalink
Product team
Hi BV,
I would be very interested to hear if the product team has made any progress.
Meanwhile I have used papi Jo's version on my website, it is excellent!
However, there seems to be no way to update my content to his version. It is in fact a different content type, called Drag and Drop Papi Jo. See screenshot.
Pasting my content in that content type overrides everything and leaves me with the version I already had. It would be very cumbersome to have to create all my content anew.
Is there any way out of this? Maybe the 1.14.8 official release is preferred to the 1.13.20 release by papi Jo? See screenshot.
Best, Roy
BV52
Wed, 03/08/2023 - 17:44
Permalink
Hi Roy,In all honesty I don't
Hi Roy,
In all honesty I don't know how Papi Jo has been implementing his libraries as I haven't tested them myself. You can either send him an email or maybe post in the forums. Documentation pages are less visited compared to the forums and it is very limited i.e. you cannot attach files. Also please note that you cannot copy/paste images anywhere in this site, you have to attach the file.
As for the progress I'm not sure how to fully track them except that I know there is a new update coming out when we have new features in the staging servers (limited access).
-BV
Dulce Sumano
Mon, 11/13/2023 - 05:18
Permalink
¿Que puedo hacer si quiero
¿Que puedo hacer si quiero que una imagen pueda estar varias veces en la misma zona de lanzamiento y no solo una?
Dulce Sumano
Mon, 11/13/2023 - 05:26
Permalink
¿Existe alguna forma para que
¿Existe alguna forma para que una imagen pueda estar en la misma zona de desplazamiento hasta 9 veces? Si es asi, como puedo hacerlo?
galani
Sun, 12/15/2024 - 14:25
Permalink
DRAG AND DROP
How can i add a second slide?
i want more than one slide
BV52
Mon, 12/16/2024 - 17:37
Permalink
Hi Galani,You have more Drag
Hi Galani,
You have more Drag and Drop by using Quiz (Question Set), Course Presentation, Column, or Interactive Book.
-BV
Mina21
Tue, 02/18/2025 - 12:06
Permalink
Is there a link to this video for download or Youtube
Hello,
In our university (Wageningen uni), we are trying to promote more use for H5P in Intranet.
We would like to post the video tutorial in this article for the drag and drop. In intranet we can link youtube or vimeo videos or upload them.
Is there a possibility to have a link for the source of this video in Youtube/vimeo or as a file?
Best regards,
Mina
Pages